Last updated: September 10, 2026
Key Takeaways
- Standard residential driveway slabs are often around 4 inches thick, but older or heavier-duty sections can be thicker.
- A problem is a crack pattern that shows the slab has already broken into moving sections.
- Both are slab-lifting methods, not full replacement.
- In those cases, lifting can turn into a short-lived patch.
A contractor lifts a driveway slab by breaking the concrete’s bond with the base, sliding lifting equipment under the slab, raising it in small increments, and then stabilizing the slab so it stays where it belongs. This article explains how contractors lift driveway slab step by step, and it helps most when a driveway panel has settled, cracked at one corner, or started to pitch toward the house.
Table of contents
- Who this applies to, and who should not try to do it alone
- How contractors lift a driveway slab step by step
- What needs to be checked before anybody starts drilling
- When should a driveway slab be lifted instead of replaced?
- The mistakes I see people make with slab lifting
- What changes on larger driveways, cold climates, or older concrete?
- How long does the job take, and what should the finished repair look like?
Who this applies to, and who should not try to do it alone
A dropped, rocked, or settled concrete driveway slab can fit here—provided it is still structurally usable enough to lift rather than replace. I mean a slab-on-grade driveway section, usually 4 inches thick, with a perimeter stable enough for a technician to drill through it, inject material beneath it, and bring it back to grade. It also explains why one contractor says “mudjacking” while another says “poly lifting.” Mudjacking uses a cementitious slurry; poly lifting uses expanding polyurethane foam. Both are slab-lifting methods, not full replacement.
Not every broken driveway belongs in this category. If the slab is shattered into loose islands, the rebar is exposed across large areas, or the base underneath has washed away so badly that the concrete has nothing to sit on, lifting can turn into a short-lived patch. And if a through-crack moves independently across the whole panel, or tree roots have physically heaved the concrete, the answer may shift to replacement, root management, or drainage work first.
I also want to be plain about what a reader can and cannot do. A homeowner can inspect slope, note trip hazards, mark the high and low points, and judge whether the issue looks like settlement or a broken slab. The actual lifting belongs to a licensed contractor. Drilling, pressure, void filling, and knowing when a slab is too unstable to move are all part of the job. On a driveway, the risk is not just cosmetic failure; a bad lift can pinch a crack shut in one spot and open it elsewhere, or leave the surface higher than the garage floor. Nasty little domino effect.
A simple rule helps: if the slab is still in one piece and the problem is sinking rather than crumbling, lifting is often worth considering. If the concrete is structurally spent, lift-and-stabilize is the wrong tool.
How contractors lift a driveway slab step by step

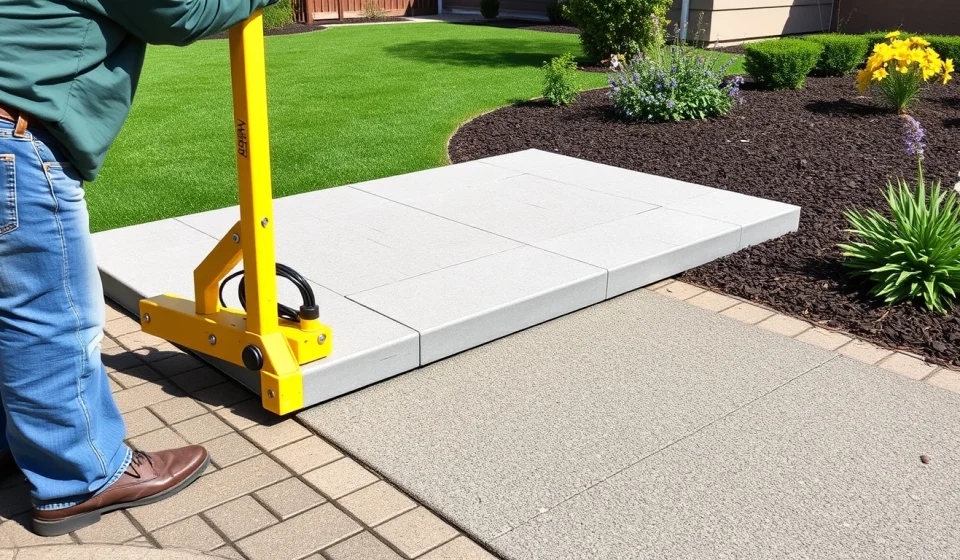
A contractor lifts the slab in a controlled sequence, not by “jacking it up” all at once. The aim is to raise the concrete 1/8 inch to 1/4 inch at a time, check the movement, and stop as soon as the slab reaches the target grade. That slow pace matters because concrete does not flex much; it moves like a plate, and the base underneath decides whether the lift holds. On how contractors lift driveway slab step by step, the slow sequence is the whole point.
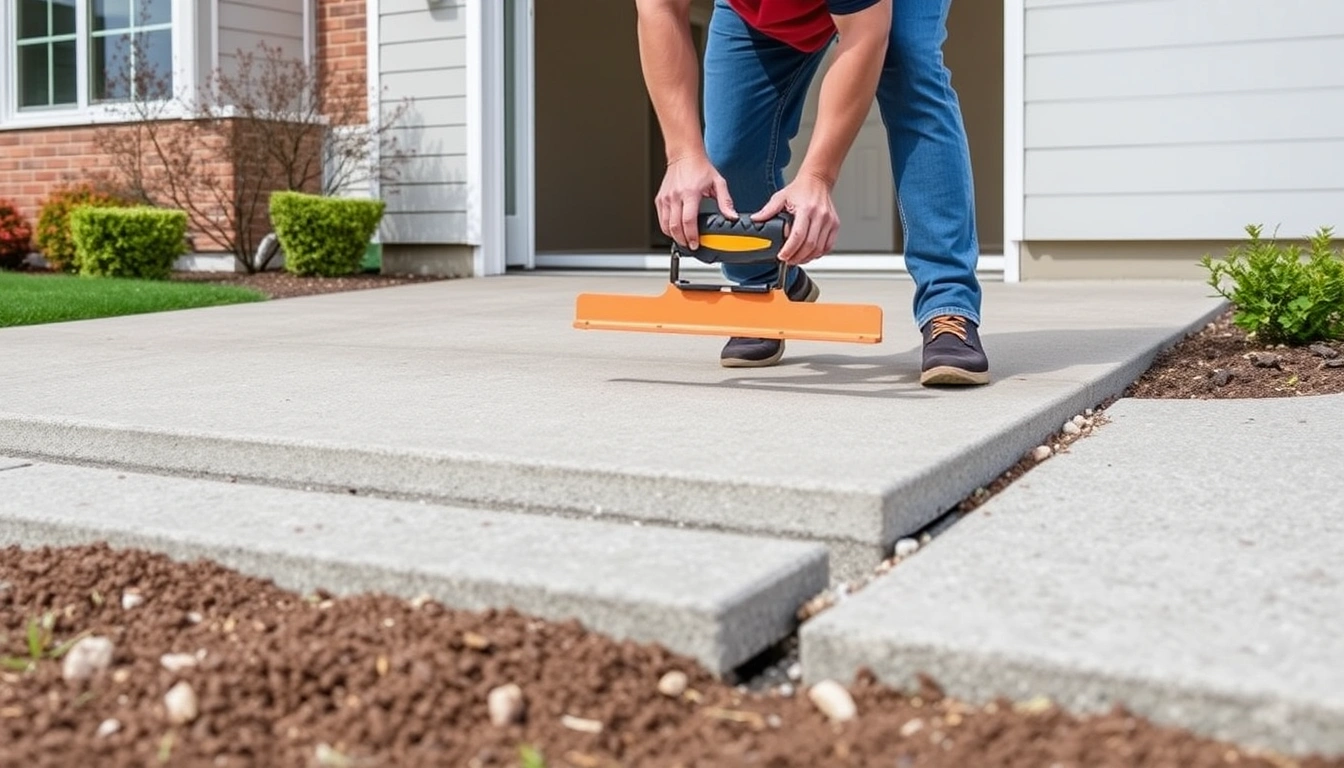
- Map the problem area. The contractor checks the slab with a long straightedge or laser level, then marks low spots, crack lines, and edge gaps with chalk. The main measurement is how much the slab has settled compared with the adjoining slab, curb, or garage threshold. A difference of about 1/2 inch may be easy to see, while a 1 inch drop usually makes a clear trip edge. Verification comes down to one question: does the slab still behave like one panel? A problem is a crack pattern that shows the slab has already broken into moving sections.
- Find out what is under the slab. Before any drilling, the contractor looks for utility lines, drainage pipes, irrigation, and old patches. A driveway often hides downspouts, conduit, and cable lines near the edge. Verification means the drill locations are clear and the slab margin is thick enough to accept them. A problem is an unknown buried line, because even a shallow 3/8-inch to 5/8-inch drill pattern can hit something important if nobody checked first.
- Choose the lifting method. Based on void size, access, slab size, and target use, the contractor chooses between mudjacking and foam lifting. Mudjacking uses larger injection holes and a heavier slurry; poly lifting uses smaller ports, often around 5/8 inch. Verification is whether the method fits the slab’s needs: a broad, sound slab with a deep void may take either, while a thin edge with less tolerance for added weight often favors foam. A problem is using a heavy slurry on weak subgrade, which can add load to a failing base.
- Drill lift points in a pattern. Holes go through the slab, usually near low spots and along the settlement line, not randomly across the panel. The pattern matters because a slab rises from the points where material enters. Verification is that the holes are spaced so the slab can lift evenly. A problem is overdrilling or drilling too close to an edge, which can spall the concrete or crack the corner.
- Inject material slowly. The contractor pumps slurry or foam beneath the slab in short bursts. With foam, the material expands within minutes; with mudjacking, the fill is denser and the response is slower. Verification is continuous surface movement: the slab should rise smoothly without a sudden jump. A problem is overpressure, which can “blow out” the slab edge, open a crack, or force material out at a weak joint.
- Watch the slab between injections. The contractor pauses often and checks grade with a straightedge, laser, or string line. I would expect changes in small increments, often under 1/4 inch per check, because the finish grade on a driveway needs to tie into the garage, sidewalk, and street apron. Verification is a level transition at the joint and no new hump in the middle. A problem is chasing perfection and overcorrecting one corner until water runs the wrong direction.
- Fill voids, not just height. The contractor keeps injecting until the empty space beneath the slab is supported, not merely until the slab looks higher. That distinction matters because a slab can rebound a little and still be hollow underneath. Verification is a firmer feel under the slab and reduced rocking at edges. A problem is a quick cosmetic lift with empty space left behind, which usually settles again after one wet season.
- Patch the holes and clean the surface. Drill holes get sealed with a matching patch material, and any excess slurry or foam comes off. Verification is that the patched spots are flush enough that a tire will not catch them and water will not sit in the holes. A problem is leaving high patches or open holes, which makes the repair look rough and gives water a place to enter.
A lift is done well when the slab looks natural, drains the right way, and no longer rocks at the low edge. It is done badly when the driveway ends up with a ridge, a patchwork of holes, or a surface that still slopes toward the house.
What needs to be checked before anybody starts drilling
Drainage comes first, because water is usually the reason a driveway slab settles in the first place. If downspouts dump beside the slab, if the gutter line is missing an extension, or if the soil along the edge stays soft after rain, the slab may move again even after a perfect lift. Honestly, I would want the grade around the driveway to send water away by at least a slight slope, not toward the garage.
Base condition matters just as much. A slab that settled because the subgrade compacted unevenly is a good candidate for lifting. A slab that settled because soil washed into a void is a candidate only if the void can be filled. A slab with a sinkhole-like cavity beneath it may need a different remedy. That is why contractors use probe rods, visual checks at open cracks, and sometimes small test holes before they commit.
Thickness matters too. Standard residential driveway slabs are often around 4 inches thick, but older or heavier-duty sections can be thicker. Thicker slabs tolerate lifting better than thin decorative edges. If a contractor does not know the thickness and starts forcing the panel upward, the edge can shear.
One more check is the connection to nearby concrete. If a driveway panel meets a garage slab or sidewalk, the lift has to respect both heights. A driveway that ends 1/4 inch higher than the garage threshold can create a water problem. A driveway that ends lower can create a lip and a scrape point. So the lift target is not “perfectly level” in the abstract; it is the correct transition across the whole run.
When should a driveway slab be lifted instead of replaced?
A driveway slab should be lifted when the concrete is mostly intact, the settlement is localized, and the base can be stabilized. That is the short answer. The longer answer is a list of situations where I would stop treating lifting as the main plan.
The slab is broken into multiple moving pieces: That means the panel has lost its structural integrity — Replace the section instead of trying to lift the fragments as one piece.
The crack width changes a lot from one end to the other: That usually means the slab is flexing, not simply sinking — Get the crack pattern evaluated before any lift.
Water keeps pooling at the same spot after every storm: That means drainage is still wrong — Fix the drainage path first, then consider lifting.
The edge has washed out and you can see voids under the perimeter: That means the soil support is gone near the boundary — The slab may need base repair or replacement, not just lifting.
Tree roots have raised one side of the slab: That means the movement is from upward force, not settlement — Address the roots or accept that the slab may move again.
The slab is too thin or spalled at the lift points: That means drilling and pressure could break it further — Replacement is safer than forcing a lift.
A homeowner often wants the least expensive fix for a bad driveway edge, and that is understandable. But a lift is not a cure for a slab that has already failed structurally. If the concrete itself is spent, the honest move is to stop trying to save it.
The mistakes I see people make with slab lifting
The biggest mistake is treating the visible low spot as the whole problem. The consequence is a quick lift that looks fine for a month and then sinks again because the soft edge or drainage issue was never corrected. The better alternative is to fix the water source and support the base at the same time.
Another mistake is lifting too high because the contractor wants to erase every sign of settlement. The consequence is a hump, a reverse slope, or a crack that telegraphs through the repaired area. The better alternative is to stop at grade, not at ego. On a driveway, a small residual low spot is often less harmful than an overcorrection.
A third mistake is drilling the holes too close to a crack or joint. The consequence is spalling at the edge and a worse-looking repair. The better alternative is to place ports where the slab can distribute the lift, usually away from the weakest edge.
A fourth mistake is assuming foam or slurry alone solves the problem. The consequence is that the slab rises, but the surrounding soil still drains badly and the settlement returns. The better alternative is to treat lifting as one part of a drainage and support fix.
A fifth mistake is ignoring the transition to the garage slab or sidewalk. The consequence is a lip that catches tires, doors, or a mower. The better alternative is to verify the finished elevation against every adjoining surface before the material fully cures.
What changes on larger driveways, cold climates, or older concrete?
The standard method needs adjustment when the driveway is large, the climate moves the ground, or the concrete is old enough to have hidden damage. On a long driveway, the contractor may have to lift in zones rather than all at once, because a 20-foot run can hide multiple settlement points. A single lift point will not correct a broad sag if the base has dropped unevenly across several feet.
In freeze-thaw climates, the issue is often frost heave and thaw settlement. That means the repair has to consider drainage, frost depth, and whether meltwater is reaching the base. If the slab was lifted in summer but the winter water problem remains, the repair may not hold through the next season. In cold regions, I would be cautious about any lift that does not also improve drainage away from the slab edge.
Older concrete can also surprise you. A driveway poured decades ago may have less predictable thickness, old patch material, or no reinforcement you can count on. Rebar helps hold a slab together, but it does not make a broken panel good for lifting. Wire mesh is not the same as a rigid frame, and it does not guarantee the slab will rise evenly. If the surface is heavily scaled or the paste has worn thin, the top can damage before the base does.
Decorative or stained driveways are another special case. Foam may be cleaner and lighter, but the patching at the drill holes still has to match the finish closely enough that the repair does not stand out like a row of dots. Sometimes the aesthetic cost matters more than the structural one, especially on a front entry drive.
How long does the job take, and what should the finished repair look like?
A typical residential lift often takes a few hours rather than a full day, though cleanup, patching, and access can stretch that longer. The job is not “done” when the slab stops moving. It is done when the slab sits at the right grade, the joints tie in cleanly, the holes are patched, and the driveway sheds water the way it should.
A good finished result has three visible traits. First, the transition at the garage and sidewalk feels smooth underfoot and under tires. Second, the slab no longer rocks at the edge. Third, the repaired spots do not dominate the surface. I would accept a repair that is structurally sound and visually modest over one that looks perfect for a week and then settles back down.
A bad result is easy to spot. You will see a raised ridge, a patched line of holes that looks like pockmarks, a crack that opened wider, or water that still sits in the same place after rain.