Last updated: September 10, 2026
Key Takeaways
- One practical rule: when the concrete has dropped less than about 2 inches and the slab sections are mostly intact, lifting is often the right conversation.
- Mudjacking holes are usually larger, commonly around 1 1/2 to 2 inches.
- Polyurethane ports are smaller, often around 5/8 to 1 1/2 inches depending on the system.
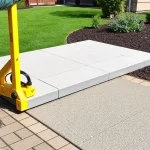
- A slab that has dropped 1/2 inch to 2 inches because the soil below it compressed, washed out, or shrank is usually a good candidate.
Concrete slab lifting basics — complete guide lays out how to raise settled concrete without replacing it. It is most useful when you are staring at a driveway lip, a tipped patio panel, a settled garage floor edge, or a walkway that now holds water. Homeowner? Property manager? Either way, this concrete slab lifting basics — complete guide should help you understand the job well enough to hire smart, compare quotes, and avoid paying twice for the same problem.
What concrete slab lifting actually solves
Concrete slab lifting fixes settlement. It does not save broken concrete in every case. A slab that has dropped 1/2 inch to 2 inches because the soil below it compressed, washed out, or shrank is usually a good candidate. Slabjacking, mudjacking, and polyurethane foam injection are the usual methods. Slabjacking is the broad term for pumping material under the slab to fill voids and raise it. Mudjacking uses a cementitious slurry, often a sand-soil-cement mix. Polyurethane foam injection uses expanding structural foam to fill gaps and lift the slab, and manufacturers such as Sika and AP Fill note that results depend on the slab condition and site.
The promise is pretty plain: bring the surface back, cut down trip edges, and stop water from running the wrong way. But there is a catch. Lifting does not cure every cause of movement, so consult a qualified contractor or structural professional when the cause is unclear or the slab keeps moving. If the subgrade keeps eroding, if a drain is broken, or if the slab has cracked badly through reinforcement, the lift can hold for a while and then drift again.
This subject matters most when the slab is still structurally sound but has lost support. A clean crack alone does not rule lifting out. A crushed corner, widespread spalling, or steel that has rusted through changes the equation. I would treat slab lifting as a repair for settlement, not a rescue plan for a slab that is already failing in pieces; a local concrete professional can confirm whether that applies.
The work is not one-size-fits-all. Frost areas bring heaving and thaw settlement into the mix. Clay soil means moisture swings matter. Near downspouts, the real issue may be drainage, not the slab itself. In an older neighborhood with utility trenches or poor fill, voids are common. If the root cause stays in place, the slab can move again. Simple as that.
A useful way to think about this: lifting restores elevation, but only an investigation into why the slab dropped tells you whether the repair will last. That is the difference between a proper bid and a guess.
How do I know if my slab needs lifting?
A slab usually needs lifting when the height change, not just the crack, causes the problem. A difference of about 1/4 inch can already make a trip edge, and 1/2 inch is often enough to trap water against a garage, patio, or foundation. One of the clearest clues is a pattern: one section has settled lower than the surrounding concrete, and the drop follows a joint, a seam, or a corner rather than random broken pieces.
Start with four signs. First, does water puddle where it used to drain away? Second, do doors or garage doors rub because the concrete edge changed height? Third, do control joints open wider on one side, which suggests one panel moved relative to the next? Fourth, can you see a hollow spot or feel movement when you tap the slab? A hollow sound alone is not proof, but it often means the slab has lost contact with the base.
I also look at the crack shape. A simple settlement crack that runs across a panel can still be liftable. A crack with offset on one side, crushed edges, or a vertical break through the panel may still be repairable, but it needs a closer look before anyone pumps material under it. Hairline shrinkage cracks are a different animal; they are common and do not, by themselves, mean the slab needs lifting.
One practical rule: if the concrete has dropped less than about 2 inches and the slab sections are mostly intact, lifting is often the right conversation. If the slab has sunk 4 inches or more, or if the settlement is still active and changing after rain, I would be suspicious of anything that does not address the soil or water issue first. That math stops working fast.
For a homeowner, the question is not “Is the slab cracked?” The better question is “Has the slab lost support in a way that lifting can restore?” That keeps you from paying for a repair that only hides a deeper problem.
What causes concrete slabs to sink?
Concrete slabs sink when the soil under them loses volume or support. Poor compaction during construction, water washing fine soil out from under the slab, clay shrinkage during dry periods, frost-related movement, and utility trench settlement are the usual causes. In many neighborhoods, the real cause is a mix of two or three of those.
Poor compaction shows up often on newer construction and additions. If fill was placed in lifts thicker than about 8 inches without proper compaction, the soil may settle years later. Water is the other major driver. Downspouts that dump next to a driveway, leaking irrigation lines, gutter overflow, or poor site grading can wash out fines and leave a void. Once that void forms, the slab bridges it until the concrete cracks or drops.
Clay soil behaves differently. In dry weather, clay shrinks. In wet weather, it swells. That cycle can leave one panel higher in spring and lower in late summer. In freeze-thaw climates, the upper soil can expand with frost and then settle unevenly after thawing. On the next season, the motion may repeat.
A generic article usually misses the root cause because it treats lifting as a standalone service, so it is worth getting a contractor or site professional to identify drainage, fill, or plumbing issues before you decide on repair. It is not. If the slab settled because of drainage, the water path matters more than the foam or slurry. If the slab dropped because a sewer or water line leaked, the leak has to be found and fixed before anyone lifts the concrete. If the soil is so soft that a worker’s probe rod sinks easily, the base may need more than a fill under the slab.
Local conditions change the answer. In a sandy area, washout can be fast and dramatic. In a clay-heavy area, the movement may be slow and seasonal. In cold regions, repair timing can be affected by frozen ground. If a contractor gives the same answer for all three, I would be cautious.
How concrete slab lifting works, step by step
Concrete slab lifting works by creating access points, filling voids under the slab, and raising the concrete in controlled increments until it reaches the target height. The method changes depending on whether the contractor uses mudjacking or polyurethane foam, but the sequence is similar. Good work is slow enough to control and fast enough to avoid overpressure. Here is the general process I would expect a competent contractor to follow.
- Map the settlement and mark a lift target. Measure the low area with a long straightedge, laser level, or builder’s level, and mark the amount of drop at each corner or joint. A 1/8-inch to 1/4-inch target difference is often left intentionally near drainage areas so water still sheds away from the structure. Verify that the plan matches the actual drop pattern. A problem is a quote that ignores slope or tries to make every surface dead level.
- Inspect the slab for cracks, joints, and weak edges. Check where the concrete is intact enough to lift and where it may crumble. Around patios and sidewalks, thin edges and broken corners often need patching or replacement instead of lifting alone. Verify that the slab is structurally sound enough to accept pressure. A problem is lifting a panel with loose, shattered edges; the pressure can widen the damage.
- Locate voids and likely washout zones. Use visual clues, probing, or sound judgment to find where the slab has lost support. Void depth is not always measured exactly, but the contractor should be able to identify the weak zones before drilling. Verify that the planned injection points cover the low area, not just the visible crack. A problem is drilling too few holes and forcing material to spread blindly.
- Drill access holes or ports. Mudjacking holes are often larger, commonly around 1 1/2 to 2 inches. Polyurethane ports are smaller, often around 5/8 to 1 1/2 inches depending on the system. The exact size varies by method and slab thickness. Verify that the hole pattern stays in a sensible grid and away from brittle edges. A problem is drilling near an unsupported corner, which can chip the slab.
- Pump material under the slab in small increments. For mudjacking, the slurry is pumped under pressure until the slab begins to rise. For foam injection, the foam expands and lifts the slab as it cures, but the exact rise still depends on slab thickness and subgrade conditions. The contractor should raise in small steps, often checking after each port or each pass. Verify that lift is gradual. A problem is a sudden heave, which can create a new high spot or crack the slab more.
- Watch for confirmation of fill and support. Good signs are reduced hollow sound, steady rise, and material response at adjacent ports. On some jobs, grout or foam may appear at joints or cracks, which tells the operator the void has connected through. Verify that the slab is lifting uniformly. A problem is one side rising while the other stays put; that can mean the slab is bridging or the void is irregular.
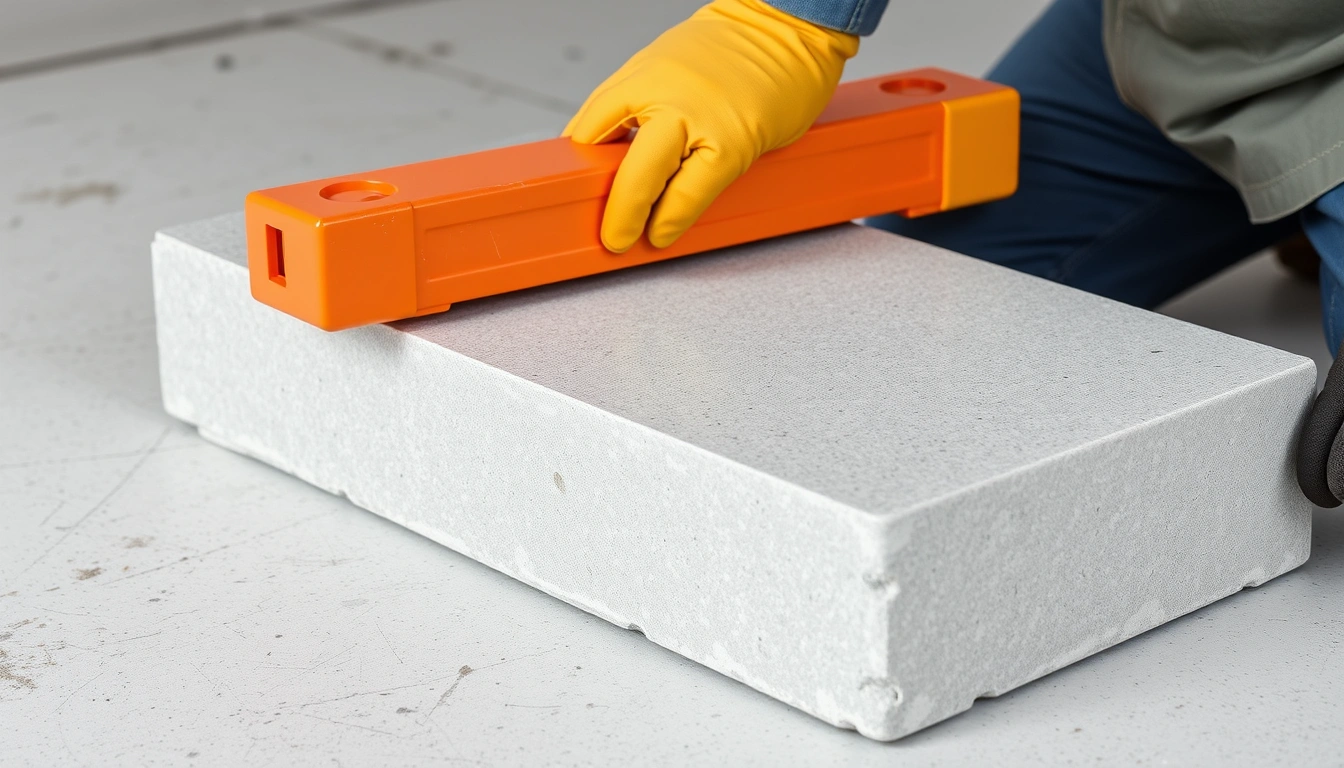
- Trim the final height and check drainage. The finished slab should meet the surrounding surfaces without creating a new lip. A slight pitch away from buildings is usually preferable to a flat surface that traps water. Verify with a straightedge or level that the surface matches the intended grade. A problem is a slab left crowned in the middle or sloping toward the house.
- Patch holes and seal as needed. Holes are usually filled after the lift, and joints or cracks may be sealed if the contractor included that scope. Verify that patch material is flush and not left recessed where it can collect water. A problem is a rough, open hole that lets water back into the subgrade.
The key control point is pressure. Too little and the slab does not move. Too much and the slab can crack, tilt, or punch through a weak spot. So this is not just “pump until it looks right.” It is a measured lift job with a clear end point.
What should a contractor check before lifting concrete?
A contractor should check the cause of the settlement, the condition of the slab, and the site drainage before promising a lift. If those three are ignored, the repair can fail even if the surface looks good on day one. I would want a bid to address slope, drainage, and slab condition in plain language.
First comes grading. If soil slopes toward the slab, water keeps feeding the problem. Next, look at roofing and drainage hardware. Downspouts that discharge beside the repair area can undo the work quickly. Third, check slab thickness and reinforcement. A typical residential slab may be about 4 inches thick, but a driveway edge, garage slab, or porch can vary. Reinforced concrete may hold up better to lifting, but wire mesh or rebar does not guarantee success if the slab has already fractured.
I also want the contractor to look for active plumbing or irrigation leaks. A wet spot under a walkway can make lifting pointless until the leak is found. On some jobs, a simple moisture pattern or a soft probe area is enough to stop and investigate. In other cases, the answer is obvious from the gutter runoff or a broken sprinkler head.
A good contractor does not just quote square footage. They explain access, the low point, and the likely reason the slab moved. They should tell you if the slab is a good lift candidate, a conditional candidate, or a bad one. If the answer comes in one sentence without a site look, that is a warning.
For a homeowner, this is where the real value is. A cheaper bid that skips diagnosis is not cheaper if the slab settles again in six months. Honestly, I would rather hear, “We need to fix drainage first,” than hear, “It should be fine,” with no explanation.
How much does slab lifting cost, and what changes the price?
Slab lifting usually costs less than full replacement, but the price depends on method, access, void size, slab condition, and local labor rates. I am not going to invent a universal number, because the market varies too much by region and job size. What matters is how contractors build the price and what drives it up or down.
Mudjacking is often priced by area or by the amount of material pumped. It can be a good value for larger, thicker areas if the slab is sound and access is easy. Polyurethane foam often costs more per square foot because the material is more expensive and the equipment is specialized, but it can be useful where the slab is thin, the load must return to service quickly, or the void is hard to reach.
The major cost drivers are these:
– Area and thickness. A 4-inch sidewalk panel is not the same as a thick driveway apron.
– How much the slab has settled. A 1/2-inch lift takes less material than a 2-inch lift.
– Number of injection points. More ports mean more drilling and more labor.
– Access. Tight side yards, fences, landscaping, or parked vehicles slow the job.
– Underlying cause. If drainage needs correction or a leak must be addressed, the project scope expands.
– Finishing expectations. Hole patching, crack sealing, and cleanup all add time.
A reasonable quote should tell you whether the price includes drilling, lifting, patching, and cleanup. It should also say what happens if the contractor cannot raise the slab to the target height without cracking it. If the contractor gives only a single number with no scope, I would ask for a breakdown before moving forward.
The wrong way to compare bids is by total price alone. The right way is by what the bid includes, what it excludes, and how it handles risk. A lower bid that leaves out patching or assumes a perfect lift can become the expensive one. Cheap now, costly later.
When should slab lifting stop, and what should happen instead?
Slab lifting should stop when the slab, the soil, or the cause of movement makes lifting the wrong tool. These are the cases where I would not treat lifting as the default answer.
The slab is shattered, badly spalled, or missing large sections: The concrete itself has failed, so lifting only moves damaged material — Replace the affected panel or section instead of trying to save it with injection.
There is active water intrusion, a plumbing leak, or repeated washout: The soil will keep moving, which means the lift has no stable base — Fix the water source first, then reassess the slab.
The settlement is severe, often more than about 3 to 4 inches, or the panel is badly out of plane: The slab may have rotated or broken support in a way that lifting cannot correct cleanly — Replacement or partial rebuild is usually the safer option.
The edges are thin, crumbling, or already separated from the body of the slab: Injection pressure can worsen edge failure — Cut back and replace the damaged portion.
The area is still moving after rainfall or seasonal change: The ground conditions are active, not stable — Investigate drainage, drainage slope, and soil conditions before lifting.
The slab supports a structural element, step, or load-sensitive feature: Lift pressure can create new stress points — Use a contractor who can judge whether lifting is appropriate or whether a rebuild is required.
For an ordinary patio or sidewalk, stopping is not a failure. It is a sign that the repair path has changed. If the slab is too far gone, the honest answer is replacement. If the cause is still active, the honest answer is diagnose first. I would rather spend money once on the right fix than twice on a lift that only buys time.
What are the most common slab lifting mistakes?
The most common mistakes are predictable, and each one has a cost. A good contractor avoids them; a bad one leaves you with a crooked slab, a visible patch line, or a repair that settles again.
-
Chasing perfect level instead of proper drainage. A slab can end up level but wrong if it now pitches toward the house or a garage door. The consequence is standing water or backflow. The correct alternative is to preserve a slight drain slope, even if that leaves one edge a fraction lower.
-
Lifting too fast. Fast pressure can crack the slab, widen joints, or create a high spot that is harder to correct later. The correct alternative is incremental lift with repeated checks after each pass.
-
Ignoring the cause of settlement. If water keeps eroding the base, the slab may resettle. The consequence is a repair that looks fine for a while and then drops again. The correct alternative is to fix gutters, grading, leaks, or runoff before or during the repair plan.
-
Using too few injection points. That forces material to travel farther under the slab and can leave voids unfilled. The consequence is uneven support. The correct alternative is a port pattern matched to the slab size and the settlement pattern.
-
Treating cracked concrete and settled concrete as the same problem. A slab can be cracked without needing lifting, and it can need lifting without needing replacement. The consequence of a wrong diagnosis is wasted money. The correct alternative is to separate structural damage from settlement.
-
Choosing the method only by price. Mudjacking and polyurethane foam each have uses and limits. The wrong choice can mean excess weight, poor access, or unnecessary expense. The correct alternative is to ask which method fits the slab thickness, void size, and service timeline.
The bad job often looks fine in photos and wrong on site. You can see it in a lip that still catches a wheel, patch holes left proud or recessed, or a slab that no longer sheds water properly. Those details matter more than a smooth sales pitch.
How long does the job take, and what does a good result look like