Last updated: September 10, 2026
Key Takeaways
- Hot parts are a different animal; the repair must survive heat cycles, and many consumer adhesives lose strength well before 100°C.
- The difference matters because a repair that is 95% strong enough for furniture may be completely wrong for a pressure line or a safety-critical part.
- Sand rigid materials with around 80–120 grit to create tooth, or drill stop holes at crack ends when appropriate for brittle materials to reduce crack propagation.
- Repair methods solve one of four problems: restoring continuity, restoring strength, restoring containment, or restoring function.
Repair methods and process: the complete guide starts with matching the fix to the failure, then choosing the least invasive option that will still hold. No theory parade here. This guide is for someone who needs to fix a broken thing, not admire the idea of fixing it: a homeowner with a split PVC pipe, a mechanic chasing a coolant leak, a technician deciding between patching and replacing, or a careful DIYer who wants a result that lasts longer than a weekend.
You already need the basics on hand: the broken item, the right access, and enough time to do the prep cleanly. And you need to be able to tell surface damage from structural failure, because that split changes almost everything. I’m staying with the repair process itself — how to inspect, prepare, choose a method, execute it, and verify that the repair is actually sound. Pressure-bearing, load-bearing, electrical, gas-related, or safety-system parts? Lower threshold for outside help. Much lower. Furniture, housings, trims, and non-critical household items are a different story.
What repair methods actually solve
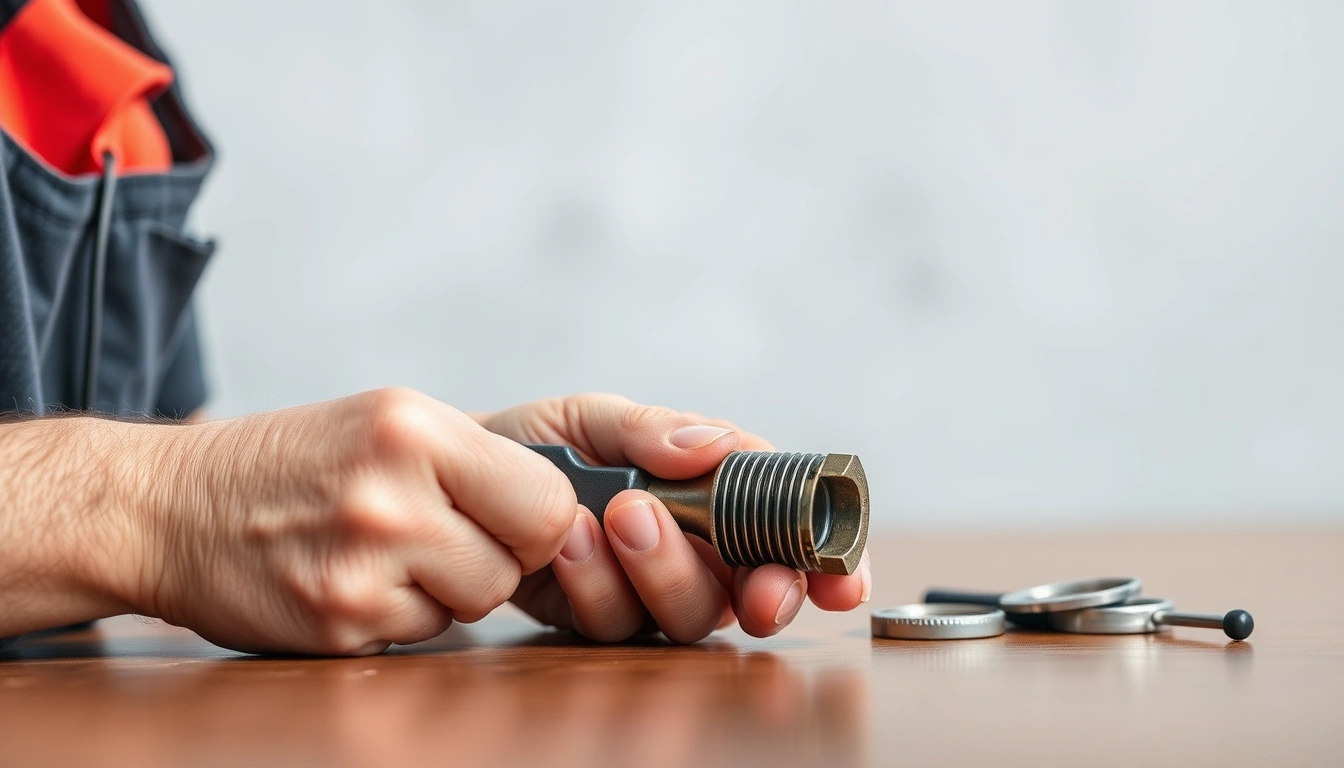
Repair methods solve one of four problems: restoring continuity, restoring strength, restoring containment, or restoring function. Sounds abstract. Fine. But that is the practical starting point. A cracked plastic tank may need containment. A stripped screw hole needs strength. A torn upholstery seam needs continuity. A sticky hinge needs function. Pick the wrong target, and the repair looks neat right up until it fails.
The common mistake is to treat “repair” as one category, though that is only safe if you first consult a qualified professional or the product guidance for the specific part and load case. It is not one category. Adhesives, fasteners, welding, patching, stitching, filling, soldering, resurfacing, and part replacement each solve different failure modes. Epoxy fills voids and bonds rigid materials, but it is a poor answer for repeated flexing. Mechanical fasteners can restore strength, but only if the surrounding material still has enough thickness. Solder repairs electrical continuity in electronics, but it does not replace a cracked connector shell. So the method has to match the stress the item will see after the repair; for product-specific limits, consult the manufacturer’s guidance or a specialist such as 3M’s adhesive selection resources and ASTM repair testing standards.
I’d frame repair choices with three questions: what failed, what loads act on the item, and what the repaired area must survive. A repair to a cabinet door hinge sees occasional pull and shear. A repair to a bicycle frame sees repeated vibration and impact. A repair to a PVC drain line mostly needs leak control and chemical resistance, not pretty cosmetics. The difference matters because a repair that is 95% strong enough for furniture may be completely wrong for a pressure line or a safety-critical part.
There is also a line between repair and refurbishment. Refinishing a scratched table top with sandpaper and a new coat of finish may make it look better, but it does not restore a broken leg. Filling a chip in ceramic may improve appearance, but if the piece carries load or contains liquid, the bond and the substrate matter more than the color match. A generic article often blurs that line and pretends every fix is interchangeable. It isn’t.
I’ll be blunt about one trade-off: a low-visibility repair is not always the best repair. A hidden joint can be elegant, yes, but if it hides a weak substrate or a stressed crack tip, you’re just hiding trouble. Sometimes the right fix is ugly and honest. Sometimes it’s replacement. Not defeat. Judgment.
How do I choose the right repair method?
I choose the method by matching material, load, access, and failure pattern before I touch the part. Methodical? Sure. The wrong repair usually blows up at the interface: the adhesive never bonded, the filler shrank, the fastener tore out, or the crack kept running past the patch. The safest move is to decide on the method before the surface is altered, or at least before the damage is opened up further.
Start by identifying the base material. Metal, wood, plastic, glass, ceramic, masonry, leather, fabric, rubber, or a composite? Then identify whether the failure is a crack, hole, split, wear groove, delamination, loose joint, stripped thread, leak, corrosion pit, or burned section. A hairline crack in aluminum usually points toward stop-drilling, reinforcement, or replacement depending on the part. A split in softwood near an edge may respond to glue and clamping if enough material remains. A puncture in flexible PVC may need solvent welding or a compatible patch. A stripped thread often needs a thread insert rather than more torque on the original hole.
I also check the direction of stress. If the part is loaded in tension, a simple surface patch often fails because the crack opens again. If it is loaded in shear, a lap-style reinforcement or mechanical fastener can do better. If it flexes, rigid filler tends to pop loose. Heat changes the story too; the repair must tolerate heat cycles, and many consumer adhesives lose strength well before 100°C. That is why “works on everything” products usually work best on almost nothing that matters. For heat limits and chemical resistance, consult technical data sheets from adhesive manufacturers or a standards source such as ASTM.
Access matters too. A repair you can only reach from one side calls for different methods than a repair you can sandwich between two faces. A hidden structural joint may allow reinforcement plates. A visible finish surface may force you toward color-matched filler, but that should never outrank the actual load path. If a generic repair guide ignores access, it usually ignores why the repair failed in the first place.
The cleanest choice is often the one that preserves the original geometry. If the repair changes alignment, thickness, or clearances, it can create a new problem. Think warped panels after over-wetting, a bolt hole that drifted off-center during drilling, or an overbuilt patch that now fouls moving parts. A repair that “holds” but makes the item unusable is not a good repair.
Here is the rule I use: if the material is sound and the damage is local, repair; if the material is degraded, cracked through, or repeatedly stressed, replace or rebuild the part. Conservative? Absolutely. It is wrong for decorative work, where appearance may be enough. It is also wrong for safety-critical parts, where you should be even more conservative.
Repair methods and process: step by step
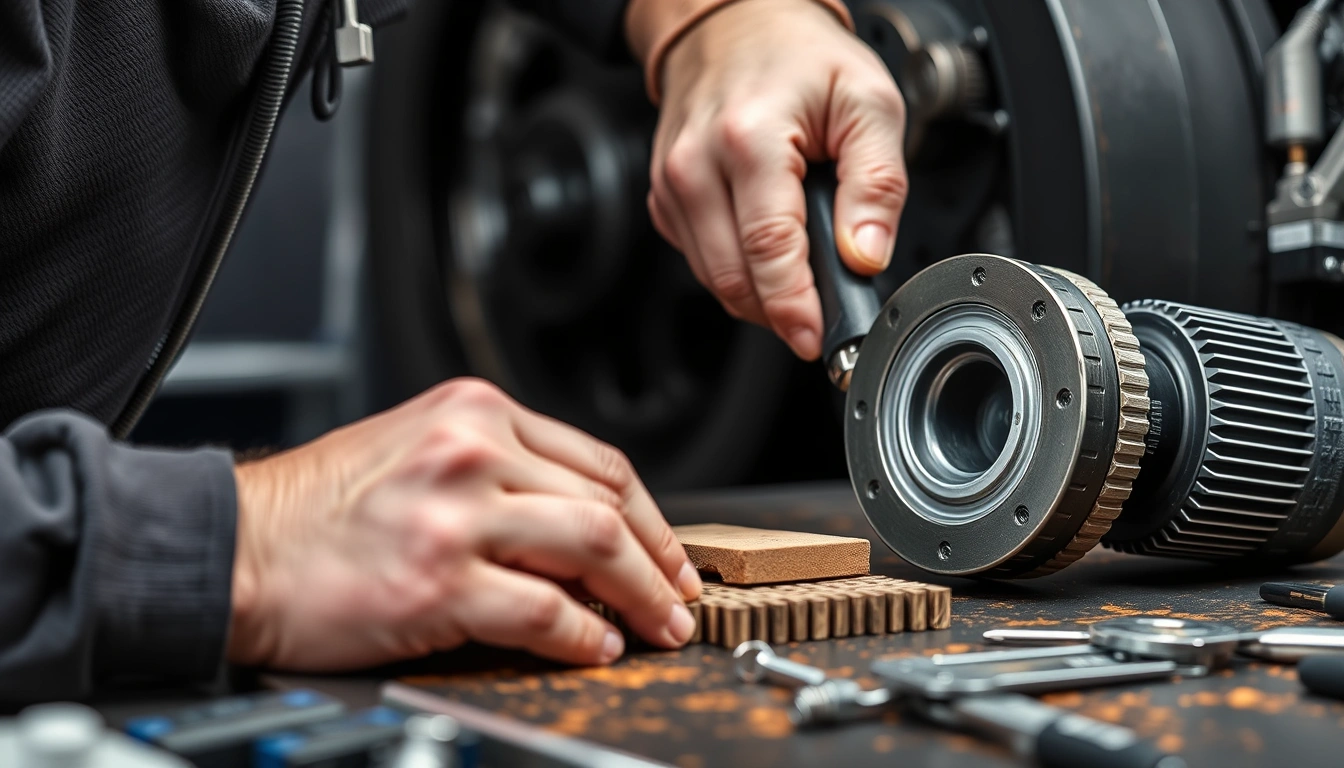
The repair process is: inspect, clean, stabilize, prepare the joint, apply the repair, cure or set it, then verify it under load. I’m spelling it out because most failures happen before the repair material is even involved. The “glue” or “patch” is only one stage. Prep and verification are where a durable repair is won or lost; for step-by-step guidance, consult the manufacturer’s instructions and a repair standard or technical note relevant to the material.
- Map the damage fully. Mark the visible edge of the crack, split, leak, wear area, or loose joint with a pencil or fine marker, then extend that map 10–20 mm beyond the visible damage so you do not under-repair the area. Verify that you have found both ends of the failure. A problem sign is a branch crack, soft surrounding material, or rust staining that continues past your mark.
- Remove anything unstable. Cut, scrape, sand, or trim away loose fibers, flaking paint, corrosion scale, or fractured edges until only firm material remains. Use just enough force to clear the failure zone; over-removal weakens the substrate. Verify that the surface does not shed dust or crumble under light pressure. If it keeps breaking away, the underlying part is too compromised for a simple repair.
- Clean for the repair method you are using. Degrease metal or plastic with the solvent recommended for that material, or wash organic surfaces and let them dry completely. For many adhesive repairs, a clean, dry, slightly rough surface bonds better than a polished one. Verify that water beads are gone, oil residue is gone, and the surface no longer feels slick. If solvent brings up more contamination, clean again; if the material softens, the solvent is too aggressive.
- Prepare the surface profile. Sand rigid materials with around 80–120 grit to create tooth, or drill stop holes at crack ends when appropriate for brittle materials to reduce crack propagation. On threaded repairs, chase the threads with the correct tap or insert kit rather than forcing a damaged bolt. Verify that the repair area has a uniform texture and that edges are relieved, not sharp. A problem sign is a polished patch surrounded by rough material, which usually means poor adhesion.
- Choose the correct repair geometry. Use a butt joint, lap joint, patch, backing plate, filler, insert, splice, or replacement section based on load direction and access. For example, a backing plate spreads load better than a narrow strip of filler. Verify that the load path now has support on both sides of the defect where possible. If the repair leaves the original crack as the only thing carrying tension, it is unlikely to be reliable.
- Apply the repair in the correct thickness. Mix two-part epoxy exactly to the manufacturer’s ratio if that is the method, then spread it thin enough to wet the surface but not so thin that dry spots remain. For solvent welding or soldering, apply only enough material to fill the joint, not bridge a gap that should have been fitted better. Verify full contact, squeeze-out where expected, and no trapped air pockets. A problem sign is voids, starved joints, or repair material that runs away from the joint.
- Clamp or hold the part in alignment while it sets. Use clamps, tape, weights, jigs, or fixtures to hold the geometry steady for the full set time, following the product’s cure window and any manufacturer guidance; that may be 5 minutes for a fast adhesive or 24 hours for a slower cure. If the part or load case is uncertain, consult a technician or the product data sheet before relying on a clamping setup. Verify that the part has not shifted, twisted, or sagged during setting. If the clamp marks the part so hard that the substrate deforms, the clamping pressure is excessive.
- Finish and seal only after the repair has cured. Trim squeeze-out, sand the repair flush if needed, then add sealant, paint, coating, or corrosion protection appropriate to the material. Verify that the finish does not bridge over an uncured core and that all exposed edges are sealed if the part will face moisture. A bad sign is tacky material beneath a hard skin, which traps uncured resin or adhesive.
- Test the repair under controlled load. Start with a light functional test, then move toward normal load, pressure, motion, or heat in stages. For a leak repair, check for seepage after filling or pressurizing the line; for a structural repair, look for flex, creak, or a new crack line. Verify that the repaired area behaves like the surrounding part and that there is no worsening after the first cycle. If the repair opens, drips, shifts, or makes noise under mild load, stop.
That sequence looks simple, but each step has a failure mode. Rush step 3 or step 7 and the repair may look good for a day, then blow up at the first real load. Skip step 4 and the crack tip often keeps moving. Skip verification, and you don’t have a repair; you have a hope.
The exact materials and cure times depend on the system. A structural epoxy may call for an overnight cure, a cyanoacrylate may grab in seconds but remain brittle, and a urethane sealant may need 24 to 48 hours before it reaches usable strength. Use the product’s own instructions for mix ratio and cure, but do not confuse “initial set” with “full cure.” Common trap. A part can feel hard and still be weak inside.
What are the most common repair mistakes?
The most common repair mistakes are poor surface prep, wrong material choice, bad alignment, and testing too early. I’m naming them plainly because most “mystery failures” are not mysterious at all. Usually, they’re process errors.
-
Using the wrong method for the failure mode. A rigid filler on a flexible joint cracks again; a patch on a rotten substrate tears out; a sealant used as a structural bond creeps under load. The consequence is repeat failure. Match the method to the load and substrate, or replace the part if the base material is gone.
-
Leaving contamination on the surface. Oil, dust, oxide, mold release, or moisture keeps many repairs from bonding. The consequence is a repair that peels cleanly off the first time it is stressed. The correct alternative is real cleaning plus abrasion where the material allows it.
-
Not arresting crack ends or hidden spread. If a crack continues beyond the visible line, the repair may only cover the symptom. The consequence is a crack that runs past the patch. Inspect the full length of the failure and, where appropriate, relieve crack tips or remove the damaged section entirely.
-
Overfilling or over-clamping. Too much adhesive can create a brittle lump; too much clamp force can squeeze out the bond line or distort the part. The consequence is either a weak joint or a warped part. Use a thin, even bond line with enough pressure to hold alignment, not crush the substrate.
-
Ignoring cure time. A fast-tacking adhesive can still need hours to reach strength. The consequence is a joint that shifts before it has developed enough internal strength. Respect the full cure window, not the “it feels dry” stage.
-
Skipping the final load check. A repair can look perfect and still fail under motion, heat, or pressure. The consequence is discovering the failure during normal use, which is the worst time. Use staged testing under controlled conditions.
The other mistake I see often is cosmetic thinking: the repair is judged by color and finish instead of fit and function. That works on a picture frame and fails on a pump housing. If the part matters, the joint matters more than the sheen.
When should I stop and use a different approach?
Stop and switch methods when the substrate is too damaged, the part is safety-critical, or the repair cannot restore the original load path. That is the real boundary. A repair that cannot meet the conditions of use is the wrong tool, no matter how neat it looks.
Crack reaches a fastener hole, corner, or edge: the stress is concentrated there and the crack is likely to keep growing — stop and replace the part, or redesign the repair with reinforcement and crack arrest only if the material and application allow it.
The material is soft, crumbly, swollen, or delaminated: the base is failing, not just the surface — cut back to sound material or replace the section, because filler will not restore strength to rotten substrate.
The part carries pressure, load, or motion that would injure someone if it fails: the consequence of a weak repair is not cosmetic; it is harm — use qualified repair or replacement rather than a household patch.
The repair would change fit, alignment, or clearance by more than a small amount: the item may work in theory but bind in use — stop and choose a method that preserves geometry, or replace the part if geometry cannot be preserved.
The damage is in a sealed, internal, or inaccessible area you cannot fully inspect: hidden damage may extend beyond what you can see — do not guess; open the area further or change to a replacement strategy.
The same failure has returned more than once: the original cause has not been solved — stop repairing the symptom and address the underlying issue, such as vibration, overheating, water ingress, misalignment, or overload.
I’m not pretending every job belongs in a DIY bucket, and the right response is sometimes to consult a qualified professional or use a replacement part. Some jobs are fine for a careful person with the right tools and patience. Others are not. If the repair would need a pressure test, electrical insulation test, torque specification, or structural verification you cannot perform, the repair method is probably not appropriate in the first place.
Which repair methods work best for different materials?
The best repair method depends on the material family, and the wrong family match is where many fixes fail. A one-size-fits-all approach is mostly marketing. A material-specific approach is how you get a durable result.
For metal, the common options are welding, brazing, soldering, mechanical reinforcement, and metal-filled epoxy for low-load repairs. Welding is a heat-based fusion method; it can restore strength in the right hands, but heat can warp thin parts and change the metal’s properties. Brazing uses a lower-temperature filler metal and is useful for some assemblies that should not be fully melted. Metal-filled epoxy is useful for non-structural filling, gap sealing, or cosmetic restoration, but it is not a substitute for welded strength in load-bearing work. If corrosion is present, remove it back to sound metal; coating over rust is not a repair. For weld sizing and inspection limits, refer to AWS guidance or a certified welding professional.
For wood, the usual methods are glue, dowels, screws, splines, biscuits, epoxy consolidation, and replacement of decayed sections. Wood moves with humidity, so a repair that is too rigid in the wrong place can split the surrounding fibers. If a joint has simply opened, glue and clamping may work. If fibers are crushed or punky, replace the damaged portion. For a split near the end grain, reinforcement with a spline or a well-placed mechanical fastener may be better than filling the gap. Woodworkers’ standards and manufacturer instructions are useful here because joint prep and clamp time matter.
For plastic, the material