Last updated: September 10, 2026
Key Takeaways
- With mudjacking, the contractor pumps a slurry of water, cement, soil, and sand through larger holes, often around 1 1/2 to 2 inches wide.
- Price depends on the method, the amount of settlement, access, and how much material is needed.
- The two common methods are polyurethane foam injection and mudjacking, and each works in a different way.
- I am talking about slabs on grade: driveways, sidewalks, garage floors, pool decks, porches, and some basement floors.
A driveway that has sunk 1 to 3 inches does not need a full tear-out every time. Often, slab leveling brings it back in place, and fast. This guide lays out when concrete slab leveling makes sense, how foam injection and mudjacking differ, what the job usually costs, and when a contractor should come out for an on-site evaluation instead of anyone trying to guess from the curb. The setup is straightforward: fill the space under the slab, then lift it until it sits where it belongs again. Two methods handle that job — polyurethane foam injection and mudjacking — and they behave very differently.
Who this applies to, and what you already need to know

Start here if the slab is still mostly intact but has settled, leaving one side or one corner lower than the rest. I am talking about slabs on grade: driveways, sidewalks, garage floors, pool decks, porches, and some basement floors. Not helical piers. Not full foundation repair. And not replacing structural concrete.
One thing matters before you call anyone: uneven concrete is not always a leveling job. If the slab is badly cracked, the soil is washing out from underneath, or a structural issue caused the movement, injection may only hide the mess. A solid contractor will tell you when a 2-inch lift makes sense and when the slab is too damaged to save. Straight talk beats hope.
Usually, this is the better path for a homeowner who wants a quicker, less disruptive fix than replacement. It is not the answer for a slab that is crumbling, has major heaving from tree roots, or has sunk because a drain line leak is still eating away the soil. In those cases, the lift will not hold; that math stops working fast.
A few terms help. “Void” means the empty space under the slab. “Settlement” means the slab has dropped because the soil moved, compacted, or washed away. “Drill pattern” refers to the small holes cut into the concrete so material can be pumped below it.
Looking for a contractor? I would want someone who can explain how voids are found, how lift points are estimated, and what happens if the slab is too thin or too fractured to raise safely. Honestly, that conversation matters more than a glossy sales pitch.
How does concrete slab leveling work?
Concrete slab leveling works by pumping material through small holes until the empty space under the slab is filled and the concrete is pushed upward in a controlled way. Foam injection and mudjacking differ in the material being pumped and in how that material behaves once it is under the slab.
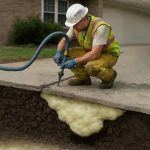
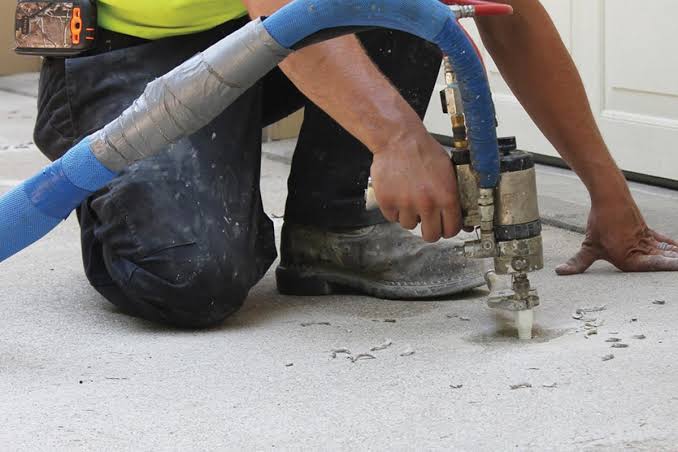
With foam injection, the contractor pumps a two-part polyurethane resin through a small hole, often about 3/8 inch to 5/8 inch in diameter. The liquid expands into rigid foam, fills gaps, and hardens fast. Mudjacking uses a slurry of water, cement, soil, and sand, sent through larger holes, often around 1 1/2 to 2 inches wide. That heavier mix supports the slab and fills the void, but it also needs more room to move.
This is not a “pump and pray” setup. A contractor should map the low spots, check slab thickness if needed, look for drainage problems, and decide where the slab can safely move. On many jobs, the crew starts at the most settled area, raises it in small increments, and watches the joints, cracks, and edges for stress.
The lift is measured in fractions of an inch, not by eyeballing it. Usually, the goal is to bring the slab back to level or close to level without pushing it too high. If one section ends up above the neighboring slab, that is a failed lift. If the material keeps vanishing into the ground and the slab will not rise, that usually means there is a larger void, a bad washout, or unstable soil that needs more than surface repair.
Foam injection versus mudjacking: what changes in the job
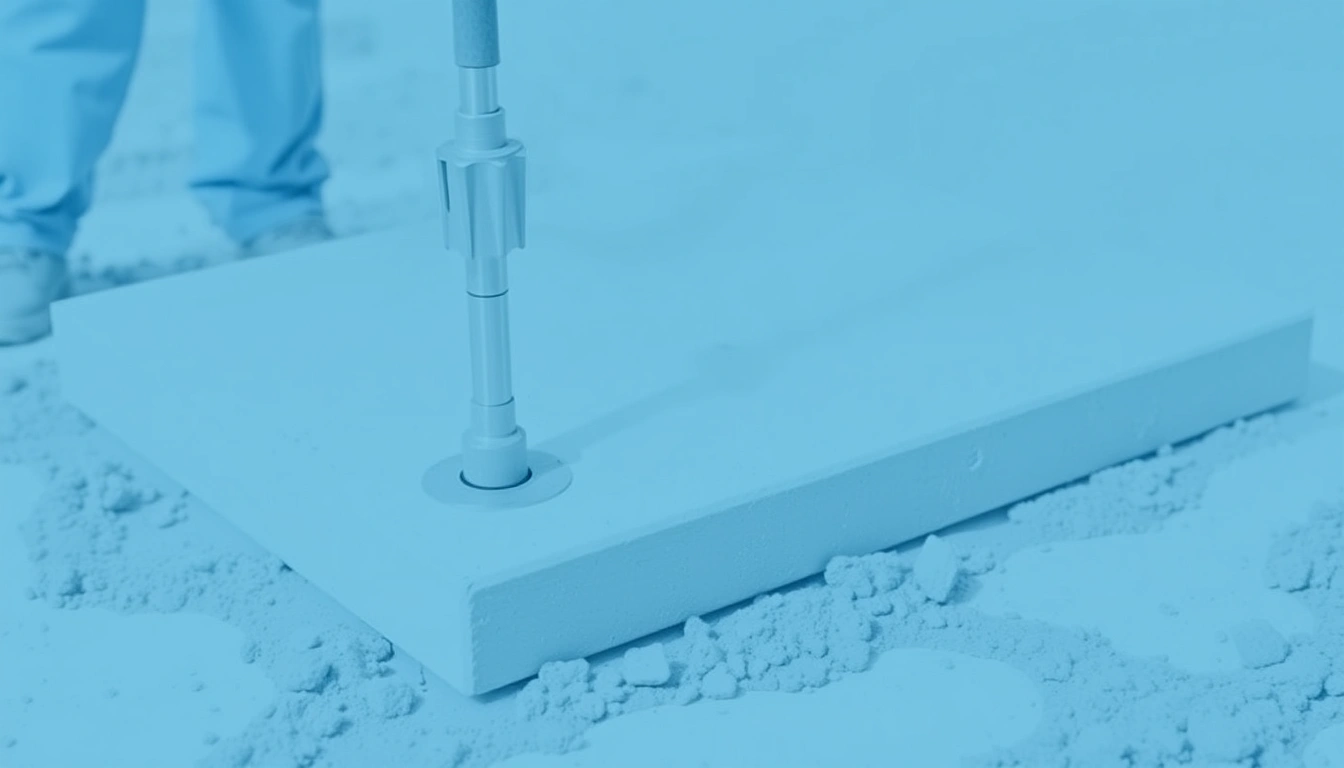
Foam injection is lighter, faster, and a better fit for many situations where you want little cleanup and a quick return to use. Mudjacking is older, heavier, and still useful where the slab needs more bulk support or where a contractor prefers the traditional feel of the method. Neither one is magic. And neither fixes a soil problem that keeps returning.
Foam usually means smaller drill holes, less mess, and a quicker cure, but a homeowner should still ask a qualified contractor which method fits the slab, soil, and access conditions. The foam can expand quickly, so the crew has to work carefully and stop at the right moment. That speed helps on garage floors, sidewalks, steps, and patios where the slab is thin or access is tight. The trade-off is simple: foam costs more in many markets, and if the underlying soil is very soft or badly washed out, a thin foam fill may not be enough by itself. The National Ready Mixed Concrete Association notes that repair methods should match the condition of the slab and the support below it, not be chosen for speed alone. NRCMA
Mudjacking relies on a heavier slurry, which can help when a void is large or when the slab benefits from a denser fill. The downside shows up quickly: larger holes, more cleanup, more weight added below the slab, and in some cases a longer wait before using the area again. If weak soil caused the original problem, that extra weight can make mudjacking less attractive than foam. The American Concrete Institute’s concrete repair guidance also says the cause of movement should be diagnosed before any repair is chosen. ACI
I would not pick mudjacking just because it is the older method, and I would not pick foam just because the holes are smaller. The right choice depends on slab thickness, soil conditions, the amount of settlement, equipment access, and how much ongoing moisture movement the area sees.
What a good leveling job looks like, step by step
Diagnosis comes first. Always. A contractor should inspect the slab, identify the low points, and check for drainage, downspout discharge, irrigation runoff, or plumbing leaks that may have caused the settlement. Only after that should the crew choose a lift plan and drill pattern.
- Mark the settled areas and joints. Use chalk or tape to mark the low side, crack lines, and control joints, typically spacing marks every 2 to 4 feet along the area to be lifted. Verify: the crew knows the target lift points before drilling. Problem sign: random hole placement with no clear lift plan.
- Check slab condition and thickness. In many residential jobs, a contractor will look for edge exposure, existing cracks, or clues about whether the slab is thin, often near 4 inches for some flatwork, though it varies. Verify: the slab can tolerate lift pressure. Problem sign: hollow, spalling, or already delaminated concrete that may break during lifting.
- Drill the access holes. For foam, holes are often about 3/8 inch to 5/8 inch; for mudjacking, holes are commonly around 1 1/2 inch to 2 inch. Verify: holes are clean and spaced to reach the void without over-drilling. Problem sign: chipped, ragged holes or drilling too close to the edge, which can crack the slab.
- Probe for voids and set lift points. The contractor should test where the slab sounds hollow and where material may need to travel farther under the slab. Verify: the lift starts where the slab is most unsupported. Problem sign: pumping into solid support instead of the actual empty area.
- Pump in short lifts. Material is introduced in small amounts, often with pauses after each injection so the slab can respond. Verify: the slab rises gradually and evenly. Problem sign: a sudden jump, which can crack the slab or create a hump.
- Check elevation as you go. The crew should use a level, laser, or other elevation check to compare the slab to adjacent sections and fixed points. Verify: the finished surface matches door thresholds, garage edges, or neighboring slabs as intended. Problem sign: one edge ends up higher than the adjoining slab.
- Fill only until support is restored. The goal is stable support, not forcing the slab higher than original grade. Verify: the slab stops moving when the void is filled and the edge is supported. Problem sign: continuing to pump after the slab is already at grade, which can create over-lift.
- Patch the holes and clean the surface. Holes are patched with a suitable cementitious repair or matching plug. Verify: the patch is flush and the slab can be used without trip points. Problem sign: patched holes that sit proud, crumble, or leave open edges.
A good result usually looks plain, not fancy. You may still see the original crack lines. That is normal. What changes is the slope and the safety of the walking or driving surface.
How long does slab leveling take, and what should you expect to pay?
Most residential slab leveling jobs take a few hours, not several days, unless the area is large or the slab needs repeated lift checks. A small sidewalk section may be finished in under a day; a longer driveway or multiple patio panels can take longer because each lift has to be measured and corrected carefully.
Price depends on the method, the amount of settlement, access, and how much material is needed. Foam injection is often priced differently from mudjacking because the material and equipment differ. Larger lifts, deeper voids, and long runs of concrete cost more. Tight access, such as a backyard patio with limited entry, can also raise the price because the crew has to work slower or carry equipment farther. HomeGuide reports that concrete leveling commonly ranges from about $3 to $25 per square foot, depending on the method and the site conditions. HomeGuide
A contractor should explain whether the quote is based on square footage, per hole, or per project. That matters because a very low teaser price can leave out the real cost of enough material to stabilize the slab. I would be cautious of any estimate that does not mention how they handle extra settlement discovered during the job.
What does a good result look like? The slab should sit level with nearby concrete or with the intended drainage slope, usually away from the house. Doors should open freely, wheels should roll without a hard bump, and trip edges should be gone. The slab should not keep moving during the first few days.
One honest limitation: leveling does not make old concrete new. Stains, hairline cracks, and weathered surfaces remain. If the top of the slab is badly worn, you may solve the height problem while still living with an ugly surface.
When should you stop and call this the wrong fix?
Stop and choose another repair when the slab condition or the cause of settlement makes lifting a bad bet. Slab leveling is a repair for movement, not a cure-all for damage; if you are unsure whether the slab is stable enough to raise, consult a concrete repair professional for an on-site evaluation.
The slab is broken into loose, shifting pieces: It has lost structural continuity, so lifting one section can crack the rest — replace the slab or rebuild that section instead.
The soil is still washing out: Water is actively carrying material away, so any lift may fail again — fix drainage, repair leaks, or correct the washout first.
The slab has a severe vertical step or has sunk far beyond normal lift range: A large height change can overstress the concrete and plumbing penetrations — get an on-site evaluation before lifting anything.
There is visible heaving from roots or frost: The slab is being pushed up, not just settled down — leveling the low side alone will not solve the problem.
The concrete is thin, spalled, or already fractured through most of the panel: The slab may not tolerate injection pressure — replacement is often the safer route.
The area slopes the wrong way because of design, not settlement: The concrete may be built with poor drainage, and lifting could make water flow worse — regrade or rebuild the section instead.
If a contractor brushes past any of these in a five-minute estimate, that is a warning sign. A real diagnosis should include why the slab moved and what will keep it from moving again.
The mistakes people make, and what they cost
The most common mistake is trying to level before solving the water problem. If downspouts dump near the slab or irrigation soaks the same edge every week, the settlement often comes back. The correct move is to correct runoff first, then level.
Another mistake is asking for the slab to be lifted too high. A slab can sometimes be brought back to grade, but forcing it above its original position can crack adjacent panels, pinch doors, or create a new trip edge. The correct alternative is to stop at stable, usable height.
A third error is choosing the method by price alone. Foam and mudjacking are not interchangeable in every case. If access is tight and the slab is thin, foam may be better. If the void is large and the contractor needs bulk fill, mudjacking may make more sense. The right choice depends on the job, not the sales script.
A fourth mistake is ignoring joints and cracks during the lift. Concrete moves as a panel system. If the crew does not watch the control joints, the slab can tear or hinge. The correct approach is slow, measured lift with frequent checks.
A fifth mistake is accepting a patch job that leaves the holes open or raised. Those patches become trip points and collect water. The correct alternative is a flush, durable patch and a clean finish.
What changes in wet, cold, or hard-to-reach areas?
Wet clay, freeze-thaw cycles, and poor access change the job enough that the standard approach needs adjustment. In clay-heavy areas, especially where soil swells when wet and shrinks when dry, the contractor should be more cautious about how much lift is attempted and should talk about drainage control. In cold climates, frost action can keep moving the slab if surface water is not redirected, so leveling without fixing the moisture path may only buy time.
For back patios, narrow side yards, or slabs surrounded by landscaping, foam injection is often easier because the equipment is smaller and the hole size is smaller. For long driveway panels or larger voids, mudjacking may still be practical if the contractor can move the slurry efficiently.
If the slab borders a garage door, threshold, pool coping, or step, the lift has