Last updated: September 10, 2026
Key Takeaways
- Lifting a slab 1/2 inch is not the same as lifting it 2 inches.
- A 40-square-foot stoop is a different job from a 600-square-foot driveway, even if both need only a 1-inch lift.
- I’m not treating cracked, crumbling concrete as a simple leveling job; a concrete professional should inspect whether repair or replacement is safer.
- Or it may have failed structurally, with the concrete itself cracked apart.
Concrete leveling cost factors: size, access, damage, material usually drive the price, and those four variables matter more than guessing whether one quote is fair and another is inflated. If you know the size of the slab, how hard it is to reach, how much the concrete has moved or broken, and which material the contractor uses to lift it, you can make better comparisons. Consumer Reports notes that repair decisions depend on condition and access, and the Concrete Network explains that slab conditions affect method choice.
Who this is for, and what I’m assuming you already know
This is for a homeowner or property manager who is looking at a sunken driveway, a tilted sidewalk panel, a settled garage floor, or a patio that now holds water after rain. I’m assuming you already know the basic problem: the concrete is still in one piece, but one side sits lower than the other. I’m also assuming you want to decide whether to call for leveling, how to compare bids, and what kind of job is worth paying for.
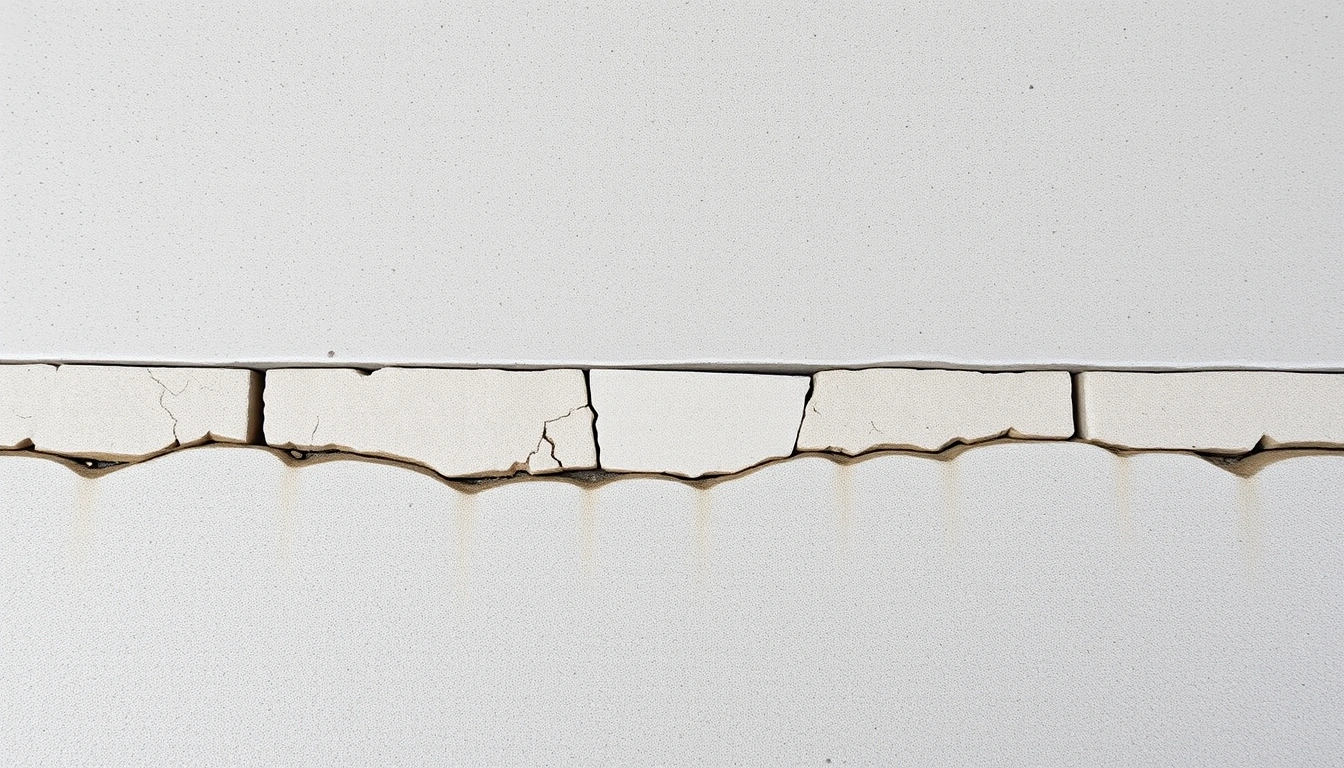
I’m not treating cracked, crumbling concrete as a simple leveling job. If a slab is broken through, badly spalled, or missing chunks at the edge, leveling may be the wrong fix because the slab may not stay intact when it is raised. A concrete professional should inspect slabs in that condition before anyone promises a lift. The American Concrete Institute and the Concrete Network both stress evaluating structural condition before repair. That is where a repair-and-replace conversation starts. For a sound slab that has settled, leveling is often the economical middle ground.
The most common leveling methods are polyurethane foam injection and slurry or “mudjacking.” Polyurethane uses expanding foam to fill voids and raise the slab. Mudjacking pumps a heavier cementitious mix underneath. Each has different material cost, equipment needs, and limits. I’ll use those terms plainly because contractors will too.
If you want a one-sentence answer: bigger slabs, tighter access, more damage, and denser lifting material usually push the price up. A simple 4-foot-by-6-foot walkway panel with open access costs less to correct than a long driveway run with failed joints, hidden voids, and no room for equipment. Concrete leveling cost factors: size, access, damage, material are the core of the estimate.
What size does to concrete leveling cost
Size changes cost because contractors price by the amount of slab to stabilize, the number of injection points, and the time spent setting up, drilling, and patching. A 40-square-foot stoop is a different job from a 600-square-foot driveway, even if both need only a 1-inch lift. The larger job usually needs more holes, more material, and more labor time.
The details matter more than the square footage alone. A single wide patio with one clean settlement area may be cheaper per square foot than a broken-up sidewalk with six separate panels. Long, narrow slabs can also be awkward because the crew has to keep checking level across several joints. If the slab is segmented, every seam adds time.
I would ask a contractor whether the quote is based on square footage, number of sections, or a minimum service charge. Many companies have a minimum because mobilizing equipment for a tiny repair still takes a truck, a crew, and a pump. That means a 20-square-foot repair may not cost half of a 40-square-foot repair. This is normal, not a red flag.
One thing people miss: the amount of rise matters. Lifting a slab 1/2 inch is not the same as lifting it 2 inches. A bigger lift can take more passes, more monitoring, and more chance of stressing the slab or the adjacent joints. If a quote ignores the lift height entirely, I would want a closer explanation.
Size also interacts with the finished look. On a long run of driveway, even a successful lift can leave a visible difference in joint lines or patch circles where holes were filled. On a small stoop, those marks are easier to accept. That is one reason I would not treat price alone as the whole story. A concrete professional should weigh appearance, function, and durability together.
How access changes the price you’re quoted
Access changes price because the crew has to get the machine, hoses, materials, and patching tools to the slab without damaging landscaping, siding, fences, or tight corners. A flat open driveway is easy. A backyard patio behind a gate, around HVAC equipment, or down steps is not. If the crew cannot park close to the work, labor time goes up quickly.
A good quote should reflect how far the pump truck or material cart has to travel. If the contractor must run hoses 100 feet or more, carry equipment through a side yard, or set up in a narrow alley, expect a higher number. The job may also require smaller equipment or extra crew hands. Access is one of the most common reasons a “same-size” project costs more than the neighbor’s. Concrete leveling cost factors: size, access, damage, material can shift even when the slab area is identical.
Utilities matter too. I would want to know whether the slab contains radiant heat, buried conduit, irrigation lines, or unknown drains. Drilling and injecting near those items changes the risk profile, and a careful crew may slow down, verify more points, or decline part of the work. If the area has recently had trenching, plumbing repair, or new utility work, there may be voids or disturbed soil that make access easier in one sense and less predictable in another.
Poor access shows up in the quote as added mobilization, extra labor, or a minimum service fee. It can also show up in the schedule. A simple front walk might be a half-day task; a backyard section with limited access can stretch into a full day. If a contractor promises a very low price without asking how they will reach the slab, I would be cautious. They may not have accounted for the real site conditions.
Why damage level changes whether leveling is even the right fix
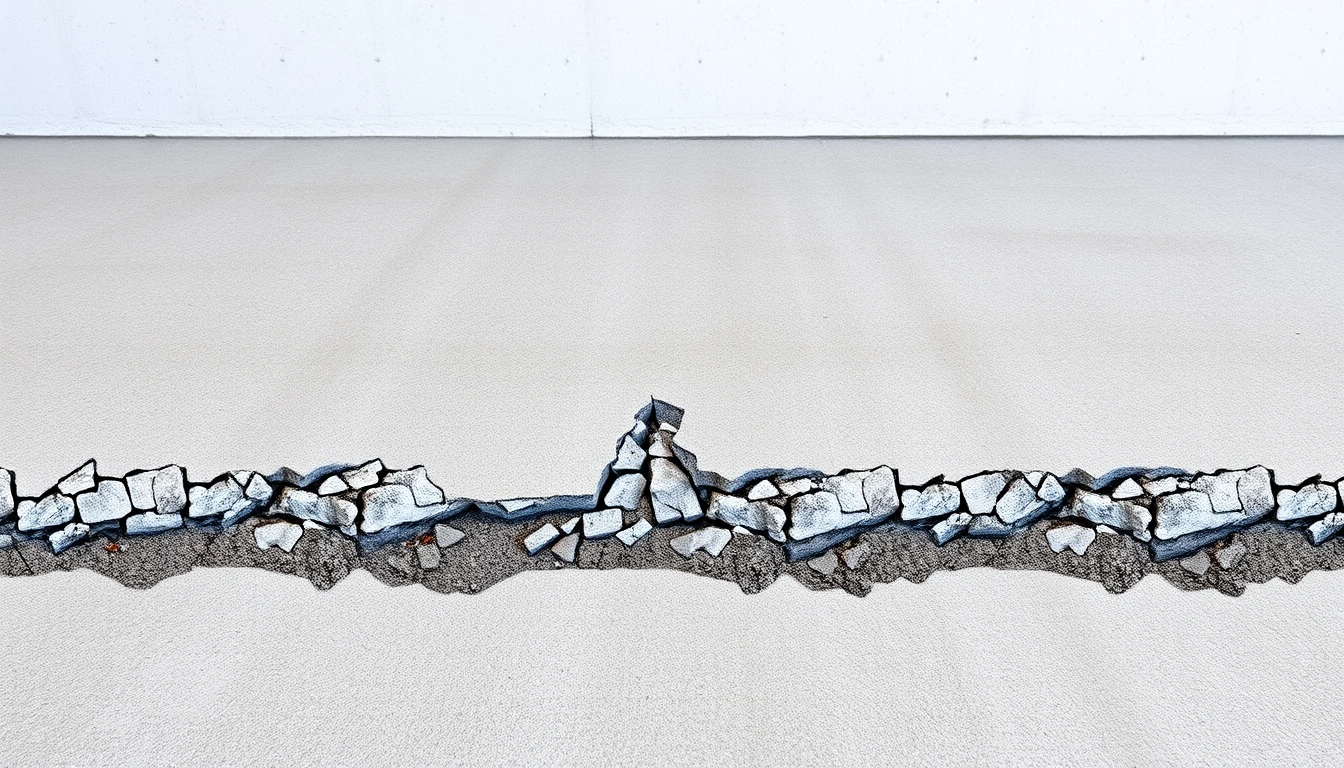
Damage level changes cost because the contractor is not just lifting concrete; they are deciding whether the slab can survive the lift. A slab with hairline cracks may be levelable. A slab with major edge breakage, wide cracks, or washed-out support under the corners may need repair before or instead of lifting.
Here is the hard truth: a slab can be “unlevel” for two different reasons. It may have settled into a void because the soil compressed or washed out. Or it may have failed structurally, with the concrete itself cracked apart. Leveling treats the first problem well and the second one only sometimes. If the slab flexes underfoot, has missing corners, or sounds hollow over a broad area, that is a warning that the concrete may not behave during lifting. A concrete professional should inspect that kind of slab before any quote becomes final.
Damage also affects prep work. Cracks may need to be sealed after lifting. Broken edges may need patching. Joints may need cleaning out so the slab does not bind against the next panel when it moves. Those fixes do not always add a lot individually, but together they can change the job from a basic lift to a repair-and-level package.
I would take extra care with slabs that have already been patched badly. Old patch material can break loose when pressure is applied underneath. A contractor should be able to explain whether the slab needs control-joint repair, edge rebuild, or replacement of a section. If the answer is only “we can lift it,” with no mention of the cracked condition, that is too shallow.
Bad damage also changes the risk after the job. A lifted slab with severe cracking can settle again because the concrete cannot distribute load normally. That is the kind of job that looks cheaper upfront and more expensive six months later. Sometimes the right decision is to replace one panel and level the rest.
Concrete leveling cost factors: material choice, and what each one really buys you
Material choice changes cost because polyurethane foam, cement slurry, and related fill materials do not behave the same way, need different equipment, and suit different slab conditions. Polyurethane foam injection usually costs more per job than mudjacking material, but it is lighter, cures quickly, and often needs smaller injection holes. Mudjacking uses a heavier mix, which can be useful under some slabs but adds weight back to weak soil. The concrete leveling cost factors: size, access, damage, material still matter here, but material can swing the quote.
I’m not giving a universal “best” choice because there isn’t one. Foam is often a good fit where fast return to service matters, where the slab sits over sensitive soil, or where the contractor wants more control over small lift adjustments. Mudjacking can make sense for larger areas and some garage or sidewalk work, especially where the slab has enough room and the customer values a lower upfront price more than faster cure time. Neither is a cure for a badly broken slab.
A few trade-offs are real and worth saying plainly. Foam injection can be faster and less invasive, but it may cost more. Mudjacking is usually less expensive in many markets, but the holes are larger and the material is heavier. If the soil below is already weak, adding heavy slurry can be less attractive than adding lighter foam. That is a judgment call, not a slogan.
I would ask any contractor which material they plan to use, what hole size they drill, and how long before the area can be driven or walked on. Cure time depends on the product and the weather, but the answer should be specific enough to guide your day. If the quote simply says “leveling” without naming the method, it is incomplete.
How does a contractor actually level a slab?
A contractor levels a slab by locating the void, drilling injection holes, filling under the concrete in controlled stages, and checking elevation until the slab reaches the target line. The work should be measured, not guessed.
- Map the settlement: Mark the low spots and measure the height difference at 3 to 6 points across the slab with a level or laser. Verify where the slab is low by how much. A problem sign is a broad, uneven slope that changes as you move across the panel, which can mean multiple voids or a failing base.
- Check the edges and joints: Inspect all perimeter joints, control joints, and nearby panels for cracking, separation, or crumbling edges before drilling. Verify the slab can take a lift without splitting. A problem sign is a crack that widens when light pressure is applied or an edge that sounds hollow across a long run.
- Choose the injection pattern: Plan holes about 4 to 8 feet apart on larger slabs, closer where the void is localized, and avoid drilling through rebar when possible. Verify the pattern covers the settled area and gives material a path to spread. A problem sign is an injection layout that ignores the low side or leaves a corner unsupported.
- Drill the holes: Drill small holes for foam or larger holes for mudjacking, keeping the bit perpendicular to the slab. Verify the holes are clean and do not blow out the concrete face. A problem sign is spalling around the hole, which makes patching weaker and uglier.
- Inject in short passes: Pump material slowly, in small increments, and check elevation after each pass rather than chasing full lift at once. Verify the slab rises evenly. A problem sign is one corner lifting first while the rest lags, which can crack the slab or jam it against an adjacent panel.
- Watch the joints and nearby surfaces: Confirm the slab is not binding against steps, walls, garage doors, or the next section of concrete. Verify doors still clear and adjacent joints stay open. A problem sign is binding, which means the slab may have been lifted too far or the surrounding structure was not accounted for.
- Finish and seal the holes: Patch the drilled holes with compatible material and clean excess from the surface before it hardens. Verify the patches are flush enough not to snag tires or feet. A problem sign is soft, sunken patch material that shrinks or leaves a visible crater.
- Recheck after settling: Inspect the slab again after the material has cured and after a rain if drainage was part of the problem. Verify the water now runs away from the structure and the slab remains level. A problem sign is renewed ponding, which suggests the base still moves or the drainage issue was never fixed.
What should I ask before I hire someone?
I would ask for the method, the lift limit, the hole size, the patch material, and how they handle voids or recurring settlement. Those five questions tell you far more than a generic “free estimate.” If the company cannot explain how it will reach the slab, how it will measure lift, and what happens if the concrete cracks during lifting, I would keep shopping. Concrete leveling cost factors: size, access, damage, material should be easy for them to explain.
Ask whether the quote covers only leveling or also crack sealing, joint repair, cleanup, and any follow-up visit. Some crews quote the lift and treat everything else as extra. That is not wrong, but it needs to be clear before work starts. If the concrete sits near a garage door, step, or retaining wall, ask how they will prevent the lift from interfering with those features.
I would also ask what they consider a no-go slab. A contractor who says every slab can be lifted is not being careful. A good answer includes limits: severe structural cracking, crumbling edges, or major washout may point to replacement instead of leveling. That is the sort of honesty you want before anyone drills a hole.
If your property has clay soil, poor drainage, frost heave, or a history of washout, ask what they recommend to reduce recurrence. Sometimes the answer is drainage correction, downspout extension, or a better base, not just another lift. Concrete leveling can fix the symptom without fixing the cause. That distinction matters.
When the standard approach does not apply
The standard approach does not apply when the slab is broken, the soil is still moving, or the access and safety risks outweigh the benefit of a partial repair. In those cases, leveling may be the wrong tool.
Wide, through-and-through cracks: the slab is structurally compromised — repair or replace the panel instead of lifting it as-is.
Severe edge crumbling or missing corners: the slab may not hold together under pressure — expect patching at best, or replacement if the damage is extensive.
Active water washout under the slab: the base is still being removed — fix the drainage or leak first, or the slab will likely move again.
Recently disturbed soil from trenching or utility repair: the support below is not stable enough to trust — wait for the base to be rebuilt and compacted properly before leveling.
Access that forces excessive demolition or risk to finished surfaces: the job may cost more in collateral damage than it saves — reconsider whether leveling is